When I am planning a new quilt, I don’t always have an idea for a border. Often I need to make the blocks and lay them out on my design wall before any ideas come to me. I have a design program on my computer but when I try designing borders there before I have even made a block, they don’t always live up to my expectations. It’s fun to play though! So let’s get started.
To Border or Not
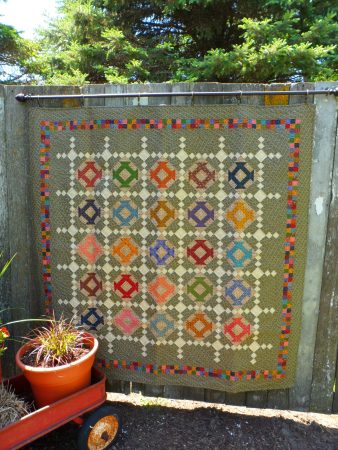
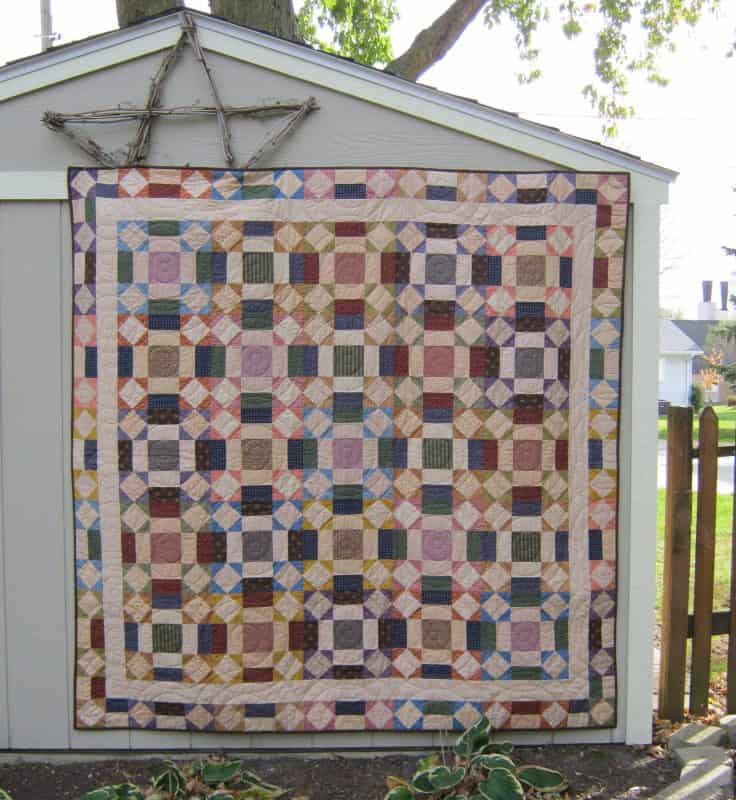
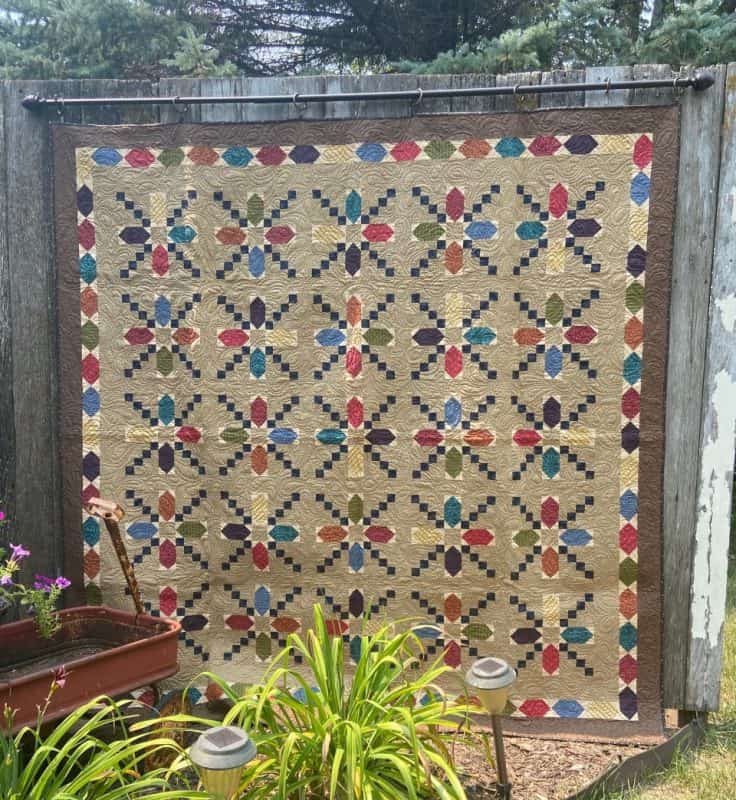
First, decide if your quilt even needs a border. There are some one block or two block quilts that don’t need anything else added to them. Just because you can add a border, doesn’t always mean you have to add a border. Here are three of my quilts, both with two different style blocks, that I thought worked without a border.
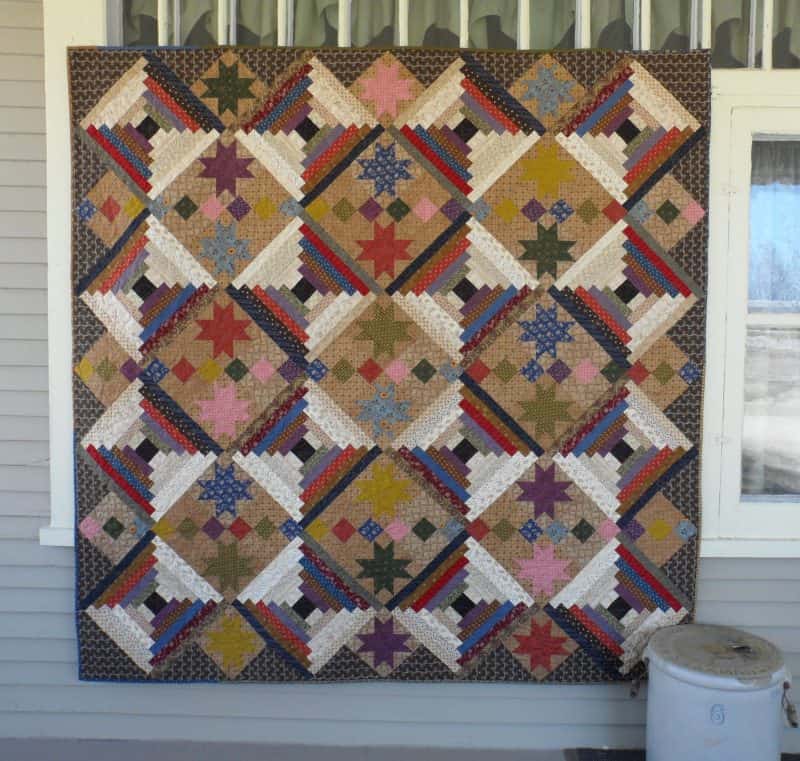
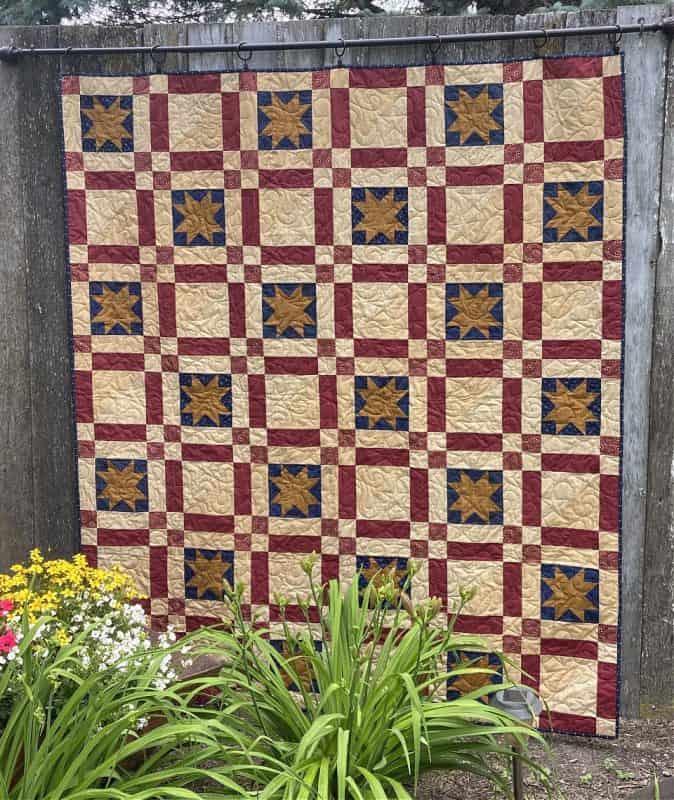
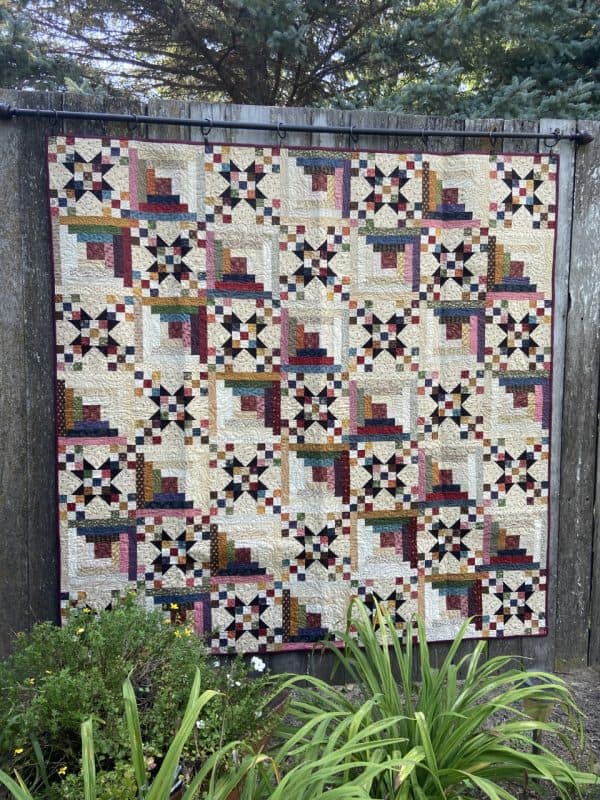
The quilt on the left above has such a busy look already that I thought a border would actually draw the eye away from the interesting secondary designs that emerge. The same goes for the quilt on the far right above. You can imagine that design continuing on. For the quilt in the center, since a design is created where the two different blocks meet, I thought that was enough interest created.
Now, some quilters like to add borders to make a quilt larger than the pattern if they need it bigger. For those quilts above, I would just suggest making more blocks to create more rows and columns.
Types of Borders
Now if you decided to add a border, here are some of your options. They range from easy and plain to pieced to appliqué.
First are plain borders. These borders are the ones quilters generally added to make a quilt bigger. I like them because they create a frame to enhance a design but also not draw your eye away from the design. I call these “quiet” borders. Here are two examples:
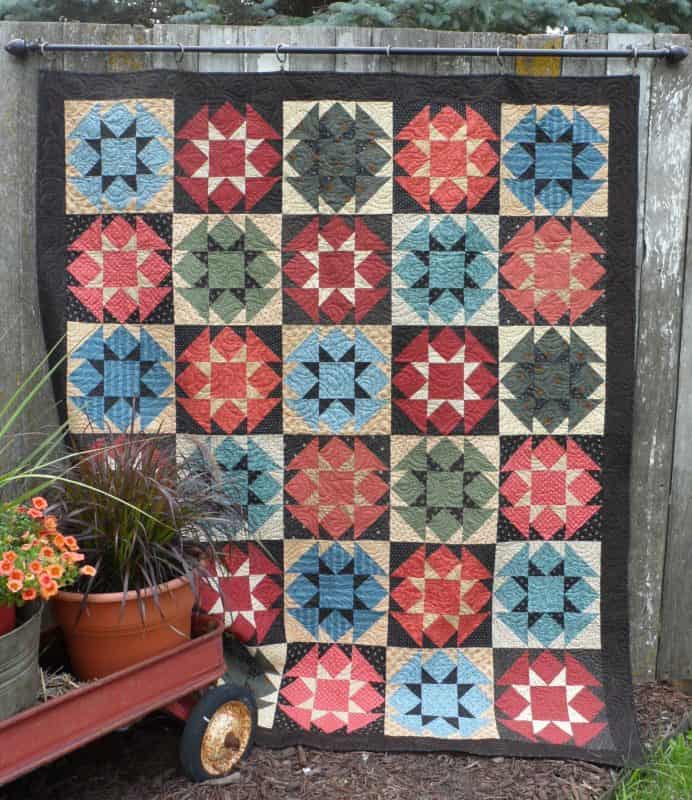
The lap quilt on the left has a plain black border that fades into the background and makes the blocks more noticeable. For the quilt on the right, I wanted the scrappy blocks to stand out more so I surrounded quilt top with borders the same color as the background within the quilt top.
You can also create a frame with a border that is a little less quiet and almost looks like a photo matte.

The thin, red inner border frames up the center design and the green border is added to brings more attention to that red border.
Now on to pieced borders. Big confession here. I have a lot of fun with pieced borders. They can be as simple as a framing checkerboard of leftover fabric to a design that fits into the theme of the quilt. Here’s a few of my quilts with these examples. First up, a simple pieced border:
The simple checkerboard border is created from leftover fabric from the blocks. Instead of a plain strip as a frame, this one adds a little fun.
Then there are borders that use an element of the block in the quilt to make a pieced border. Here are three examples.
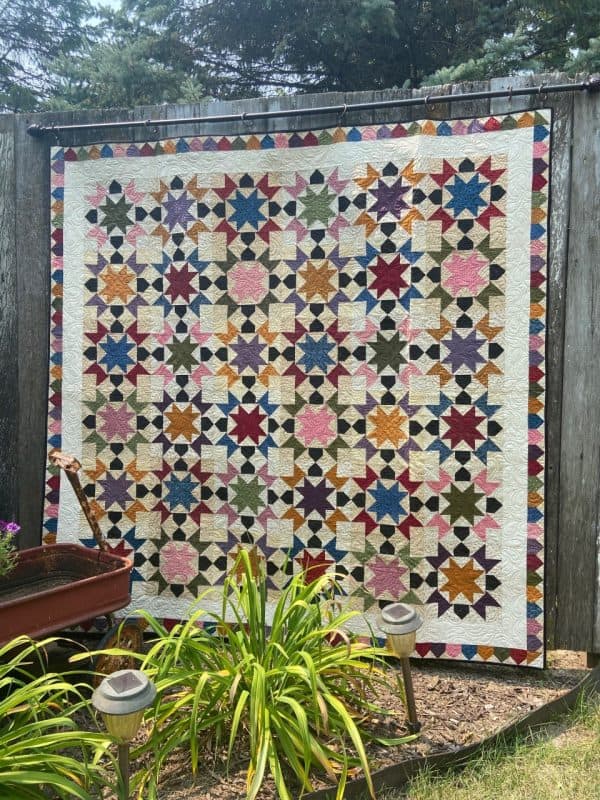
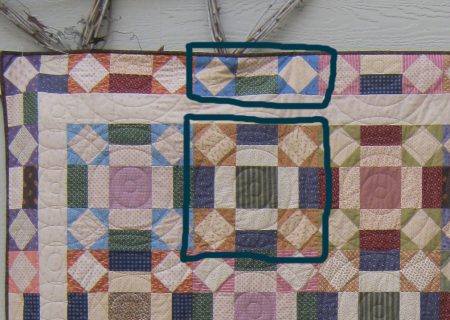
Paper Chain, on the left, does this on a greater level than the other two. Here’s a closer look:
The other two quilts just pull a small element from the block to make the border:
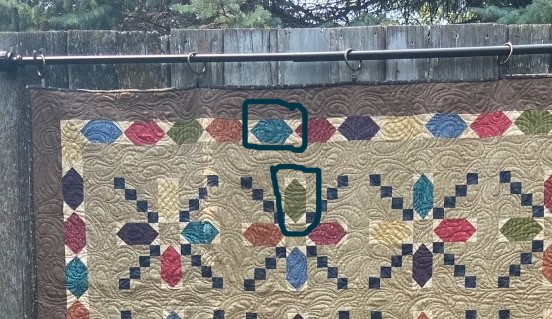
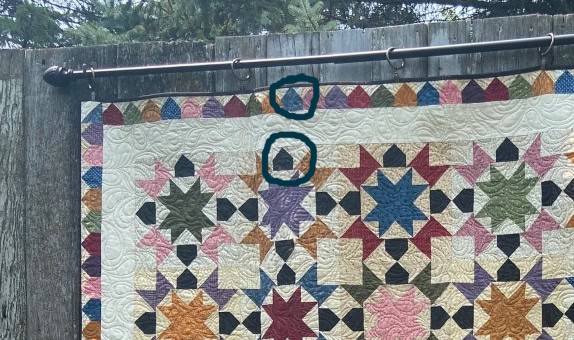
Notice too how there is a plain border between the blocks and the pieced border. This serves two purposes. First, it sets off the designs of both the center of the quilt and the border. And the second purpose is sizing the quilt up so the pieced border you have planned fits.
Here is a fun pieced border that actually continues the theme of the quilt:

For Celebrate Christmas above, I created pieced ribbons in the border to frame the Christmas ornaments.
There are so many other pieced borders I have done, but I don’t want to bore you with too many examples. You can look at photos of all my designs here: Pattern Gallery. You’ll see examples of a lot of these pieced borders there.
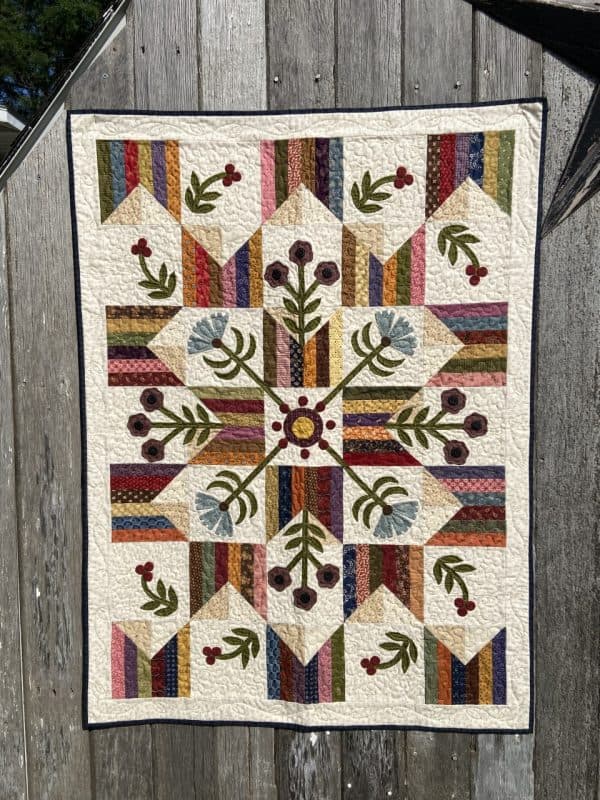
Now on to appliqué borders. I do these types of borders when I have added a plain border and decided that it was too plain! Here’s two of my favorite ones:
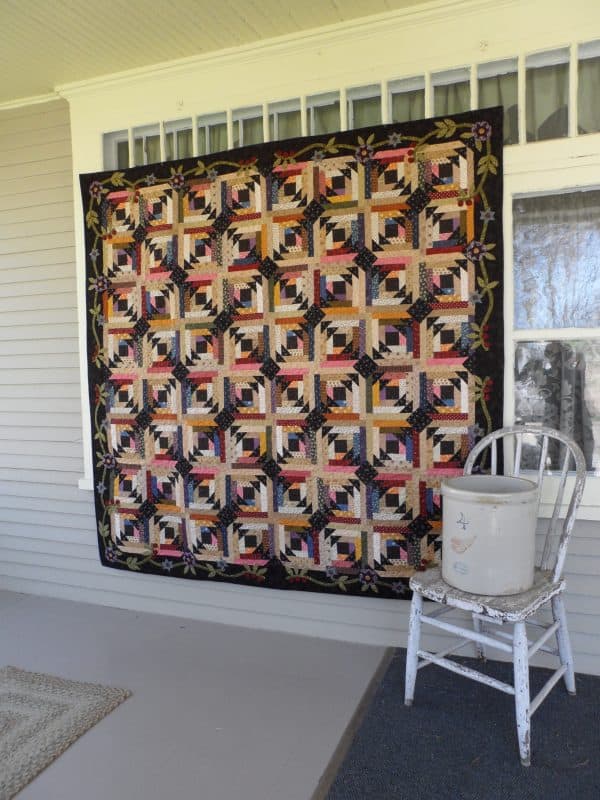
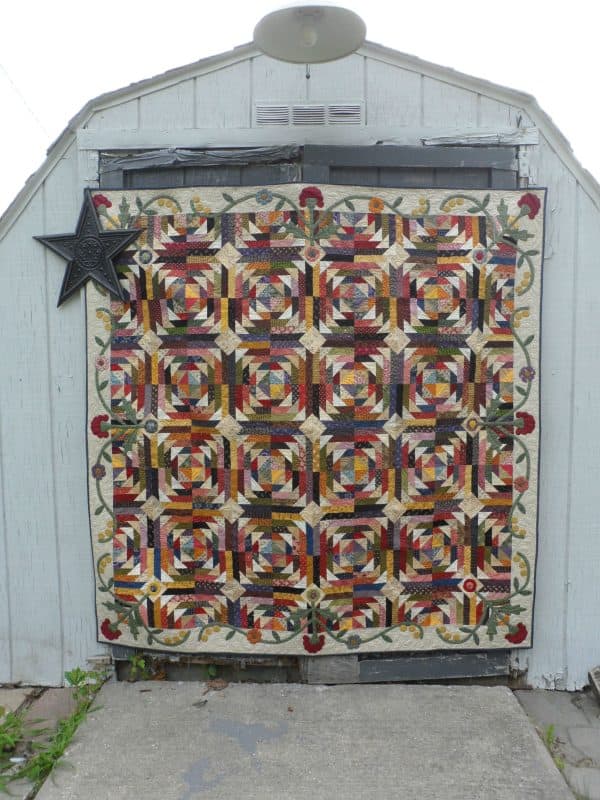
I think the appliqué adds a fun finish and frame to both of these quilts.
Finally there’s the pieced border that flips things from the conventional to not so conventional. Here’s my quilt, Seaside Cottage, that has small scrappy blocks making up the quilt so I used larger blocks for the border. I think it adds an interesting balance.
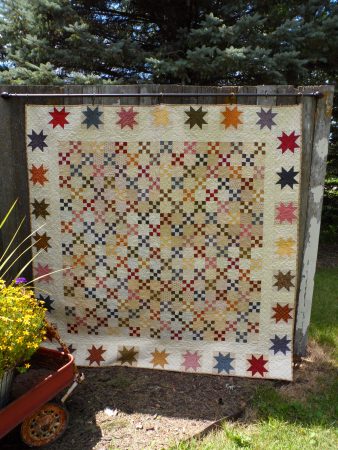
So those are some of my border ideas. As I said earlier, the possibilities are endless. Have some fun and play! Especially if you have fabric left over after making blocks. Next week I am going to cover another element that can be added to a quilt to enhance a design, sashings.
Until next week,
Happy Quilting!
Deanne


Jiminy Christmas!!! I’ve read your blog for years and have gleaned so many great tips not to mention the free sew/quilt-alongs with the wonderful free patterns! I had NEVER looked at the pattern gallery—you’re a MASTER QUILTER! I had no idea … you are even more talented than I had given you credit for. This isn’t flattery—I’m completely blown away. Next up is to go through the gallery again at a much slower pace and see which patterns I want to purchase. Thank you so much for all you do. Please know you are appreciated.
Thank you so much for your kind words! 😁
So many great ideas for borders! You continue to amaze us with your creativity.
Thanks!
Just amazing! You are so creative!! Cannot even find the words to describe your talent..!
Thanks!