Rulers are one of the essential tools you need when you are quilting, other than a sewing machine of course! Because of that, I decided to devote this week’s post to rulers I like to use along with a few tips for use. I probably use fewer types of rulers than other quilters. I don’t buy a lot of specialty rulers. I do have a few that I like to use and I’ll show you those here. Share some of your favorite rulers, perhaps you have ones you use that I haven’t thought of. Let’s get started.
My Rulers
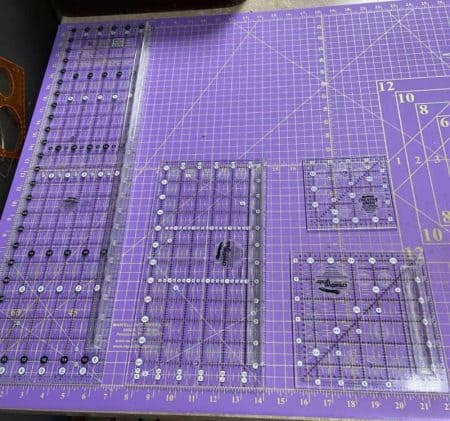
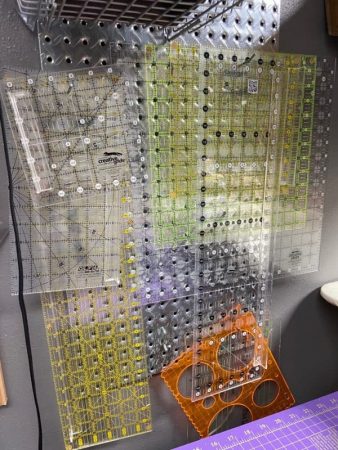
Here’s some of the rulers I use the most often:

Conventional for Cutting & Trimming: Everyone is probably familiar with the 6 1/2 x 6 1/2″, 6 1/2 x 12 1/2″ and 6 1/2 x 24 1/2″ which I use the most.

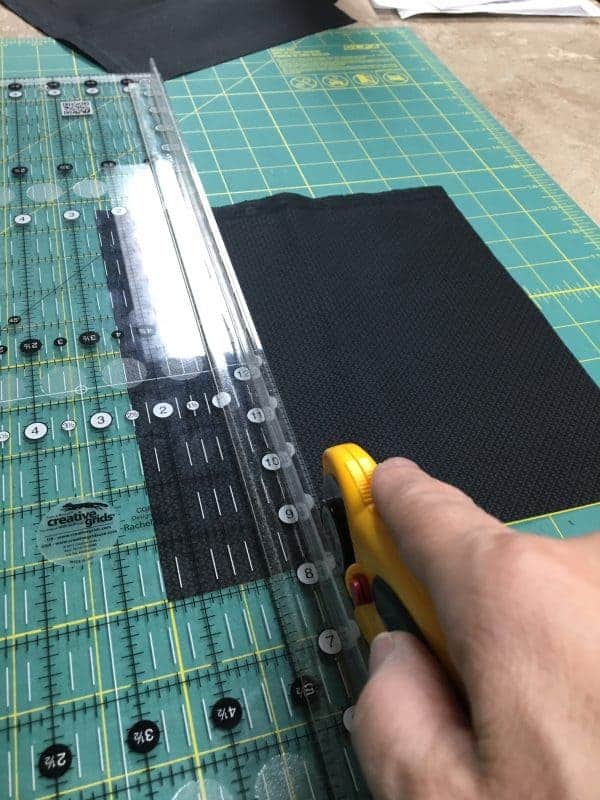
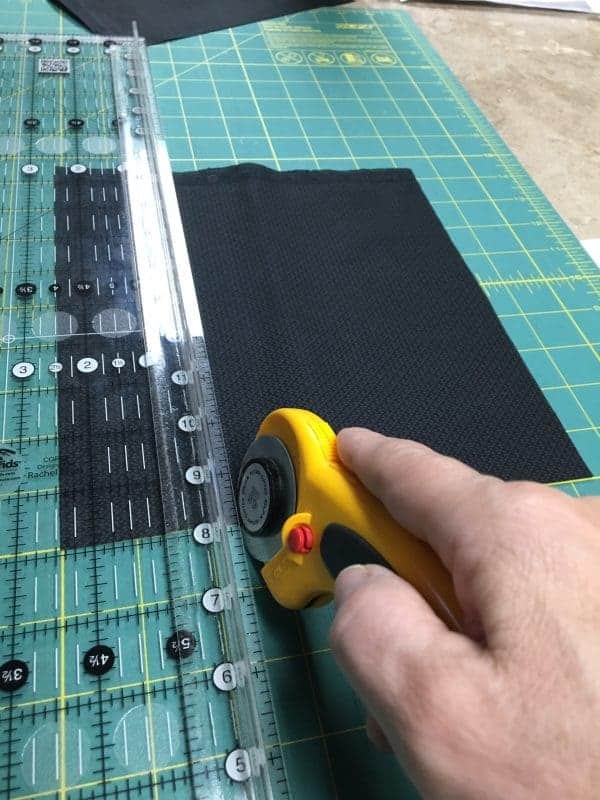
The long 6 1/2 x 24 1/2″ ruler is great for cutting long strips from yardage. I use the 6 1/2 x 12 1/2″ ruler next to it to help square up yardage and also for cutting strips from smaller pieces of fabric like fat 1/4s, fat 1/8s and layer cakes. The 6 1/2 square ruler is used to help square up those smaller fats and also to square up smaller blocks.
The 4 1/2″ one on the upper right in that photo I use to measure my block units as I go along with these two rulers below:

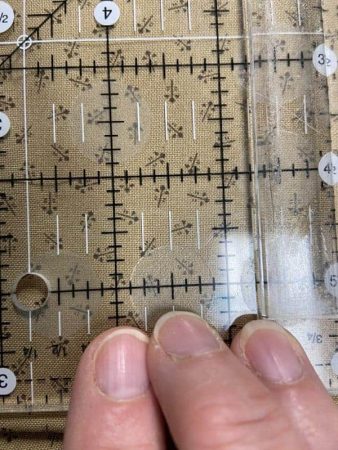
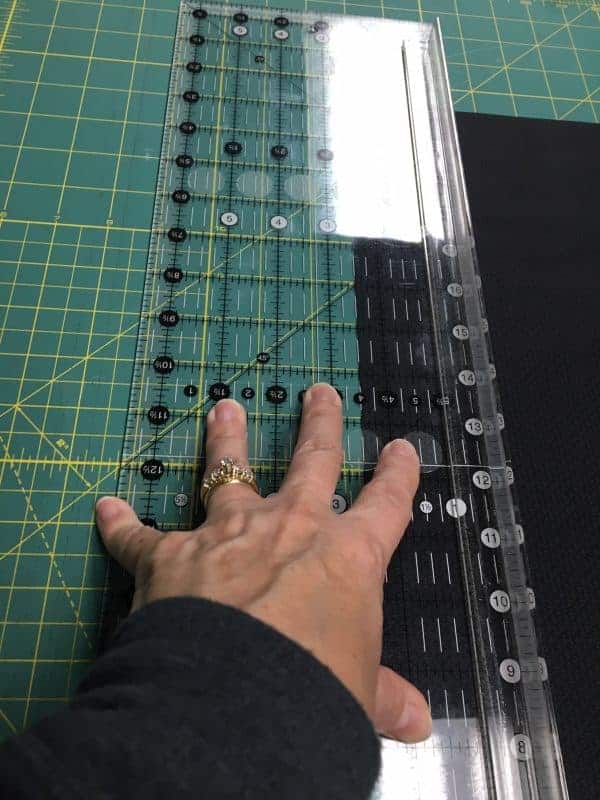
Measuring units of a block as you go, will lead to accurately pieced blocks that measure the size that’s indicated in your pattern. The success of your quilt relies on your blocks measuring correctly. If a quilt block is supposed to be 12 1/2 x 12 1/2″, for example, measuring the block units as you go will help you with that goal.
Here’s a photo of measuring a 4-patch that I needed to be 2 1/2 x 2 1/2″ to work in a block.

Specialty Ruler: This next ruler is one that is specific to creating half-square triangle (HST) squares. Whether I am using the traditional method of making two at a time or making multiples all at once, this is a ruler I can’t live without: the Quilt in a Day Triangle Square-up Ruler.

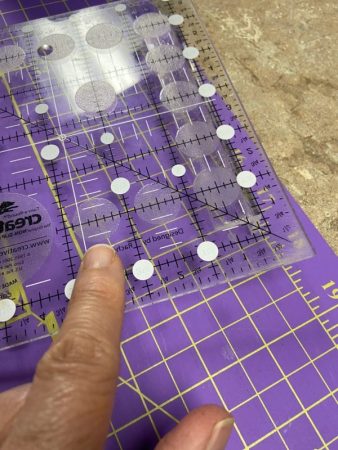
This ruler allows me to trim HSTs before they are pressed open so I only have to trim two sides. It makes the trimming more accurate. Line up the diagonal line on the ruler with the seam of the closed HST. The number associated with that line is the size you want the HST to measure once it’s pressed open (includes seam allowance). Once it’s lined up, trim the two sides where they overlap the ruler edge.


This ruler certainly came in handy when making these two quilts that had a lot of HSTs in the blocks!


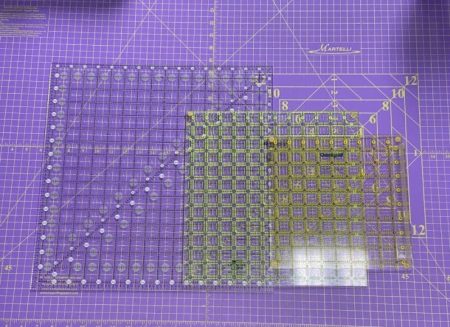
Squaring Rulers: I use these to measure or square up completed blocks. I have a 9 1/2″, 12 1/2″ and 16 1/2″. Once again, this helps your quilt top go together smoothly and measure correctly by having the blocks measure correctly.

Be extra careful squaring and trimming blocks. Be sure nothing of the block design will be lost in the 1/4” seam allowance.
Not Quilt Rulers: Finally, these last two rulers are for the appliqué fans among us. Circles tend to be the most difficult when I am looking for the right size for berries or a flower center in a motif I am designing.

I use these to make my templates for my fabric and wool appliqué patterns that need circles. These rulers were not found in a the quilt store. I found them in a scrapbooking store. So if you are like me and want perfect circles, look for something like these there.
Some Ruler Tips
Tips #1: Learn to read the lines on your rulers quickly. I like rulers that have lines that are different lengths like my Creative Grid rulers.

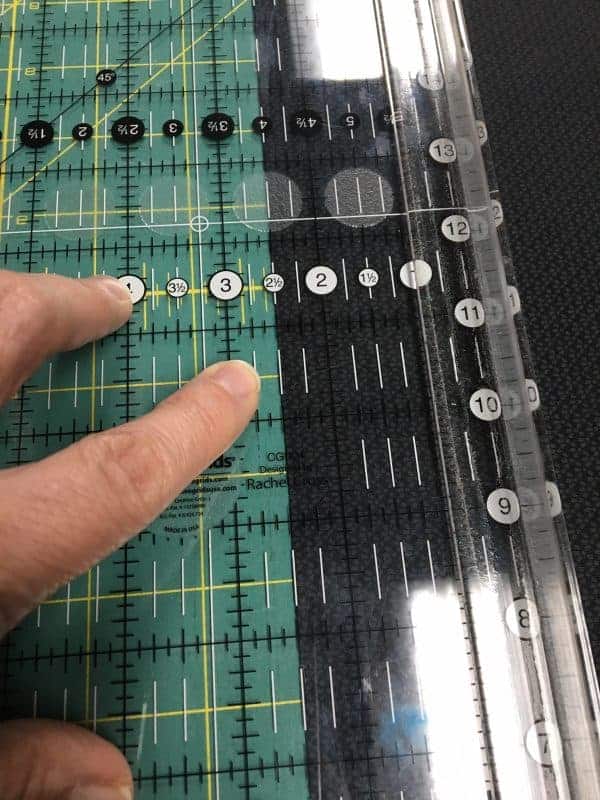
Notice the lines between the inches are different lengths. The 1/8″ lines are slightly shorter than the 1/4″ lines and the 1/2″ line is longer than both of those (see photo above). This helps me find measurements like 2 3/8″ and 3 3/4″ quickly on the ruler.
Tip #2: Make use of the 45º line on your ruler. I use it for cutting fabric on the bias for strips and you can also use it for trimming pressed open HSTs if you don’t have a specialty ruler.


There are also a 30 and 60 degree lines on most rulers that are used for cutting triangles and diamonds. I don’t use those measurements often so you will need to look to another quilter for tips and patterns using those.
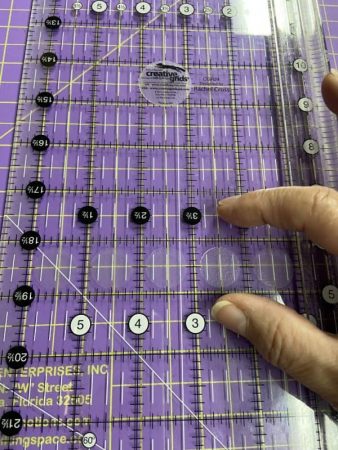
Tip #3: You can use the ruler to find the center of a piece of fabric or block by using the markings on the ruler. Those intersecting white lines and the circle where they meet is the exact center of this ruler shown below. This comes in handy when squaring up blocks or when you are fussy cutting a piece of fabric.

That’s all for my ruler tips. Share some of your rulers you like the best and maybe some of the specialty or unusual ones you have found work well with your quilting. Join me next week for some more ruler talk. I’ll cover ruler safety tips and maintenance.
Happy Quilting!
Deanne